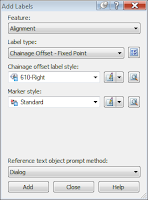
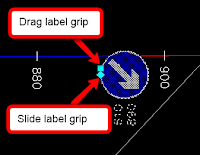
Alignments menu> Add alignments labels> Add alignments labels...> Label type: Chainage Offset – Fixed Point> Select the 610-Right style and click Add. Follow the prompts in the command line and drag the label to desired location using the drag label grip.


If the signs come in too big or small, go back to the label style composer and adjust the block height. If the text labels clash with or are too far from the sign, go back to the label style composer and adjust the X-offset.
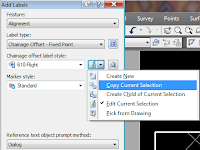
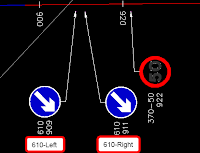
To create a label style showing the sign at the left side of the leader, copy 610-Right and change the style name to the 610-Left. In the Layout tab, change the block attachment to 'Bottom Centre'.


If you have colleagues working on the same scheme, you can share label styles by copying theirs to your drawing and vice versa. Open their drawing as 'Read Only' to be sure you don't make any accidental changes to it. In Toolspace-Settings tab-Master view> Alignment> Label Styles> Chainage Offset> drag and drop the styles you need to your drawing.
Hope this helps and gives you ideas of other possible applications of this versatile Civil 3D feature in your everyday work tasks.


No comments:
Post a Comment