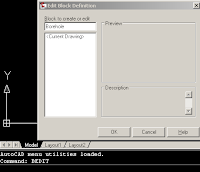
1. Type BEDIT and type a block name and click OK.
2. Draw the borehole stick using lines and move it to 0,0 coordinates using the midpoint of the top line as base point.
3. Insert a Base Point parameter at the mid point top line.
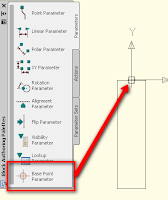
4. Place a Visibility parameter at the mid point of the right line.
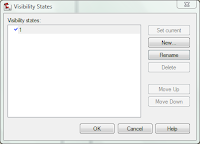
5. Double click the yellow exclamation point symbol. Change the visibility state to '1'.
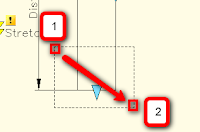
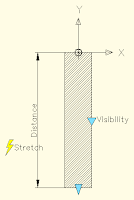
6. In the Parameter Sets tab, place a Linear Stretch parameter picking the midpoint of the top line first and the midpoint of the bottom line as the second point. Double click the Stretch Action yellow symbol. Specify the first corner of the stretch frame and objects to stretch. The image below shows where to pick the first and second corner of the stretch frame.
7. Hatch the borehole. That's one layer of borehole done!
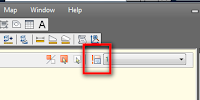
8. Now to create another layer. Double click the Visibility parameter or click the Visibility State button on the block editor bar and click new and name it '2'.
9. Select and right click the hatch object> Object Visibility> Hide for Current State. The hatch will be greyed out which means it won't be shown for the new state.
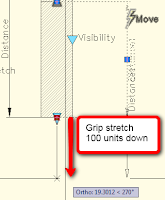
10. Draw a horizontal line across from the left line to the right. Place a Linear Move parameter set with start point at the midpoint of the base and midpoint of the new line as the second point. Double click on the Move Action yellow symbol and select the new line. Click the Distance1 parameter and grip stretch 100 (or more) units down. This means the line can be moved down 100 units from its current position. This can be increased if need be.
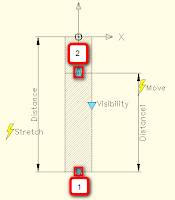
11. Create hatches for the 2 layers. Hatch for the upper layer should be the same as the hatch for State '1' and any hatch for the bottom layer.
12. Repeat Steps 8 – 11 to create more layers.
13. Save the block definition and close the block editor.
Additional options and settings can be added through the parameter’s properties.
Click here to see how it works.
If you'd like a copy of the drawing I used to play with, just drop me an email. harold dot alberto at gmail dot com.


I've enjoyed your blog and have decided to start my own.
ReplyDeleteHere is the url
http://civil3d-aos.blogspot.com/
Wesley Ashworth