1. Using the Left Axis title text.
If you don’t need to show the axis title text on your profile, you can use this for the datum label.

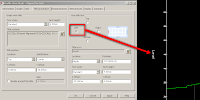
Right-click on the profile and click Edit Profile View Style> Title Annotation tab. Pick the Left axis title text radio button and click the Title text “A” button. Delete any words in the text window, choose the “Profile View Minimum Level” property field from the pull down list and click the blue arrow. Add “Datum” and “mAOD” to the text and click OK.

Back to the Profile View Style box, change the Axis title text parameters as per image below. This is ideal if you need to add the datum text onto several profile views.
2. Using the profile view labels.
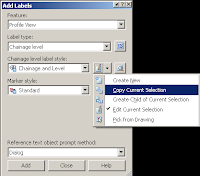
Copy an existing profile view label. In my case, I’ll copy the chainage and level style.

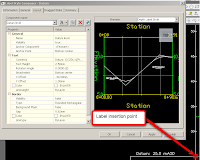
In the Information tab, change the style name to Datum. In the Layout tab, change the component’s name to Datum. Activate and click on the text component editor button. Delete the chainage value text in the text window leaving the Profile View Point Level text in and add “Datum” and “mAOD” to the text and click OK.
Change the Label Style parameters as on the image below and label the profile view.

Note that the labels won’t update if the level range is changed.
In my next few posts, I'll show how to create dynamic borehole "sticks".


I know that this may sound basic (because it is) but when I go to a viewport all those labels appear huge, but in the model they do not. How can solve this? Thank you for your help.
ReplyDeleteHi Dias,
ReplyDeleteThanks for the comment.
Go inside the viewport and zoom in to the profile and type "regen". This should adjust the label text heights.
Hope that helps.
Harold